Installation
Basics
Useful links for setting up basic development requirements:
For Linux users, you can make sure your environment is up to date by doing the following:
apt update
apt upgrade
apt install git openssl gcc libglu1-mesa mesa-utils libsm6 x11-apps
Commands below will install the vcdat development environment:
cd Downloads/
conda config --set ssl_verify false
cd ~/Path/To/Projects
git clone git@github.com:CDAT/vcdat.git
cd vcdat
./scripts/setup.sh
Before Running vCDAT
Turn on/off uvcdat tracking:
export UVCDAT_ANONYMOUS_LOG=no
Download data:
vcs_download_sample_data
Running vCDAT
Start the development server:
source activate nightly
./scripts/autorun.sh
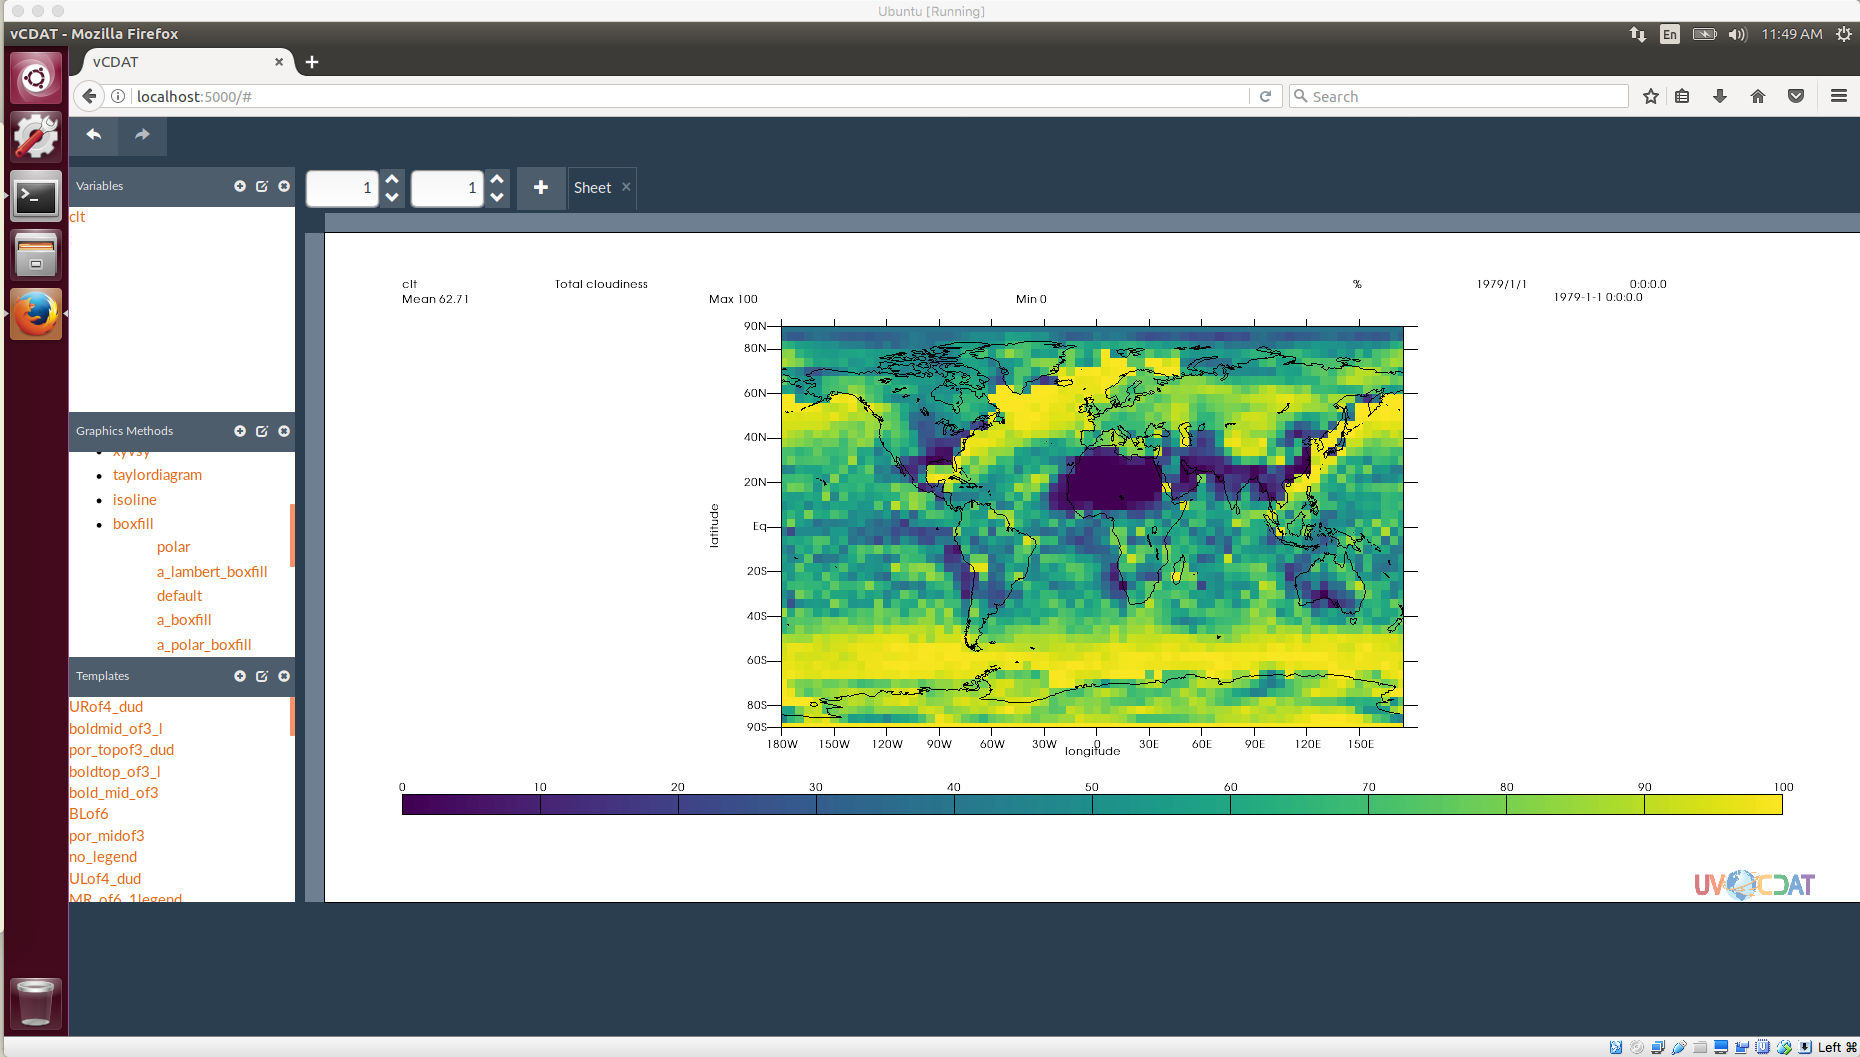
open browser to
localhost:5000click the round
+next to Variables in the upper leftclick add
navigate to
anaconda2/envs/nightly/share/uvcdat/sample/data/clt.ncclick
clt.ncclick
cltdrag
clton to the canvas

Updating vCDAT npm Packages
cd vcdat git pull ./scripts/setup.sh cd frontend npm install
Local vcs-widgets
When running the autorun script you may see the following line displayed:
vcs-widgets is not symlinked, so will not be automatically watched.
This is generally fine, but is not what we want if we are developing on that package. To get a local version into vcdat we just need to tell npm to link it.
- Create a folder to store global npm modules. For this example we will use
~/npm-global - Tell npm to use the global folder, otherwise it may get confused.
npm config set prefix ~/npm-global/ - Navigate into the vcs-widgets directory:
cd VCS-widgets - Register that the package can be linked to:
npm link - Navigate back to the vcdat frontend directory:
cd ../vcdat/frontend - Run
npm link vcs-widgets
Now when you execute the autorun script the symlink message should be gone, and the widgets should reflect the local version that was linked.